Washing natural hair can seem like a daunting task, but with the right approach, it can become a refreshing ritual rather than a chore. Whether you are new to the natural hair journey or seeking to refine your routine, this step-by-step guide will help you navigate the process effectively. From proper preparation to styling post-wash, each phase is crucial for maintaining healthy, vibrant locks. Let’s dive in!
Step 1: Gather Your Supplies
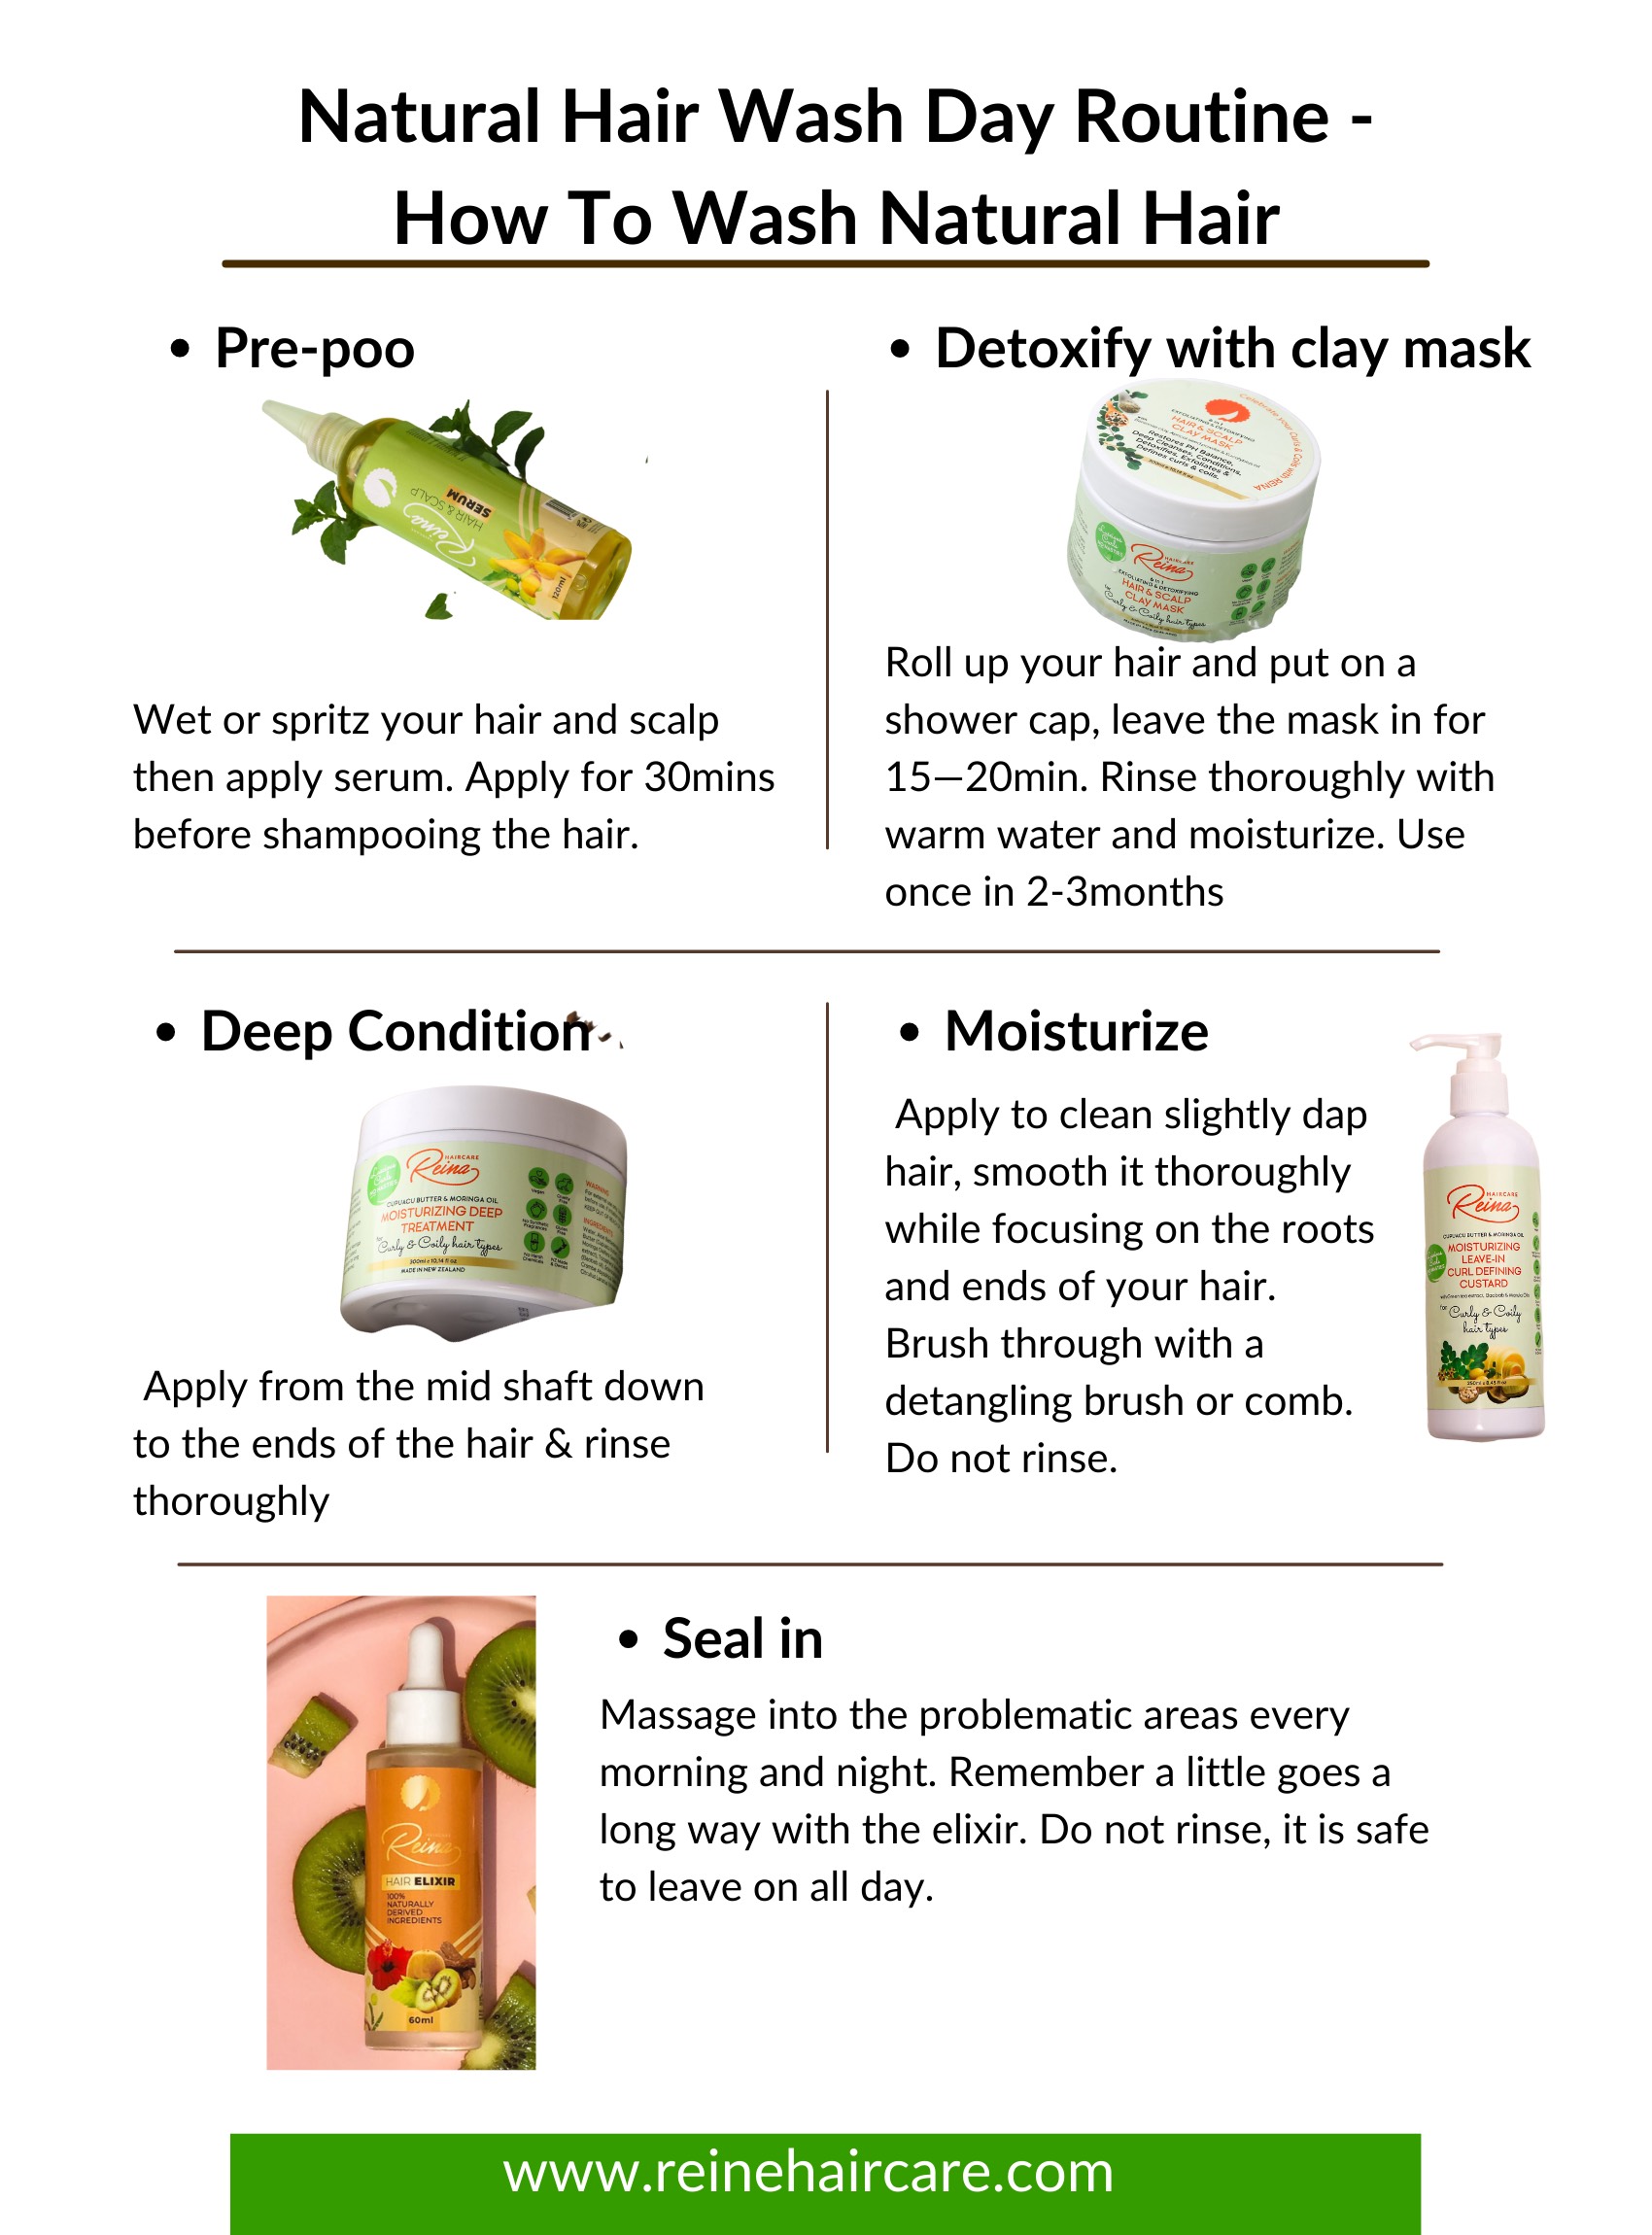
Your hair-washing session begins with gathering all necessary supplies. This preliminary step sets the stage for a smooth experience. Essential items include:
- Shampoo: Opt for sulfate-free, moisturizing shampoo to avoid stripping natural oils.
- Conditioner: A rich, hydrating conditioner is vital for restoring moisture.
- Leave-in Conditioner or Moisturizer: This will aid in detangling and providing lasting hydration.
- Essential Tools: A wide-tooth comb, microfiber towel, and a shower cap may all be helpful.
- Optional Treatments: Consider including a pre-poo treatment or hair mask for added nourishment.
Preparation is key here. Having everything ready enhances efficiency during wash day.
Step 2: Pre-Poo Treatment (Optional but Recommended)
Before you even get to shampooing, consider a pre-poo treatment. This step involves applying oil or a conditioner to dry hair prior to washing. It helps detangle and protects your hair’s moisture balance. Popular choices include coconut oil, olive oil, or natural oils like jojoba. Allow the oil to sit for at least 30 minutes, or even overnight for maximum benefits.
Step 3: Wet Your Hair Thoroughly
Moving on, it’s time to wet your hair thoroughly with lukewarm water. Ensure that every strand is saturated. Lukewarm water is ideal as it helps to open up the hair cuticles, preparing them for the cleansing process. This stage is crucial because it ensures your shampoo can penetrate effectively.
Step 4: Apply Shampoo
With your hair adequately wet, it’s time to apply shampoo. Dispense a quarter-sized amount into your palms and rub them together. Focus on the scalp, using circular motions to cleanse the roots. The scalp is often where product buildup accumulates, so it requires more attention. Allow the lather to cautiously slide down the length of your hair, gently cleansing without harsh scrub motions that may cause damage. Rinse thoroughly to eliminate all traces of shampoo.
Step 5: Condition Your Hair
Once rinsed, apply a generous amount of conditioner to your hair. Starting from the ends and working your way up to the roots ensures your strands receive proper hydration without weighing down the roots. Use a wide-tooth comb to gently detangle while the conditioner sits in for a few minutes—this not only aids in disentangling those stubborn knots but also allows the conditioner to penetrate deeper into the hair shafts.
Be sure to rinse with cool water to seal in moisture, leaving your hair feeling silky and smooth.
Step 6: Deep Conditioning Treatment (Optional)
For those lucky enough to carve out some extra time, a deep conditioning treatment is well worth the effort. After rinsing out the regular conditioner, apply a deep conditioner evenly throughout your hair, focusing on the ends. Cover your hair with a shower cap and let it sit for 20 to 40 minutes. This allows the treatment to deeply penetrate, rejuvenating your hair to improve elasticity and overall health. Heat may be applied via a hooded dryer or simply by wrapping a towel around your head, enhancing absorption further.
Step 7: Rinse and Towel Dry
After your deep conditioning extravaganza, it’s time to rinse once again with cool water. This helps lock in the hydration you just added. After rinsing, gently squeeze excess water from your hair rather than vigorously rubbing with a towel, which can cause breakage. Using a microfiber towel is especially beneficial, as it minimizes friction and absorbency.
Step 8: Add Leave-In Conditioner
Now that your hair is clean and free of excess moisture, apply a leave-in conditioner. This product serves as the bridge between washing and styling, ensuring your hair remains hydrated throughout the day. Distribute a moderate amount through your hair, and use your fingers or a wide-tooth comb to ensure even application. This is your opportunity to detangle further if needed.
Step 9: Style Appropriately
With the leave-in conditioner in place, you can now style your hair as desired. Whether you prefer braids, twists, or keeping it natural, ensure you use a light styling cream or gel suited for your hair type. This will give you hold while maintaining soft, touchable curls or waves.
Step 10: Air Dry or Use a Hooded Dryer
Finally, decide on your preferred drying method. Air drying is ideal for maintaining moisture, while a hooded dryer can expedite the process. If using a heat source, ensure your hair is adequately protected with a heat protectant spray.
In conclusion, washing natural hair is a multifaceted process that requires attention, care, and love. By following this step-by-step guide, you can ensure your natural hair remains healthy, hydrated, and styled beautifully. Embrace the journey, and let your natural beauty shine!