Fringe on a scarf adds a whimsical touch and a splash of flair to any ensemble. Not only does it elevate the aesthetic appeal, but it also transforms a simple piece of fabric into a statement accessory. If you’ve ever admired the intricate fringes on a scarf and thought about crafting your own, now’s the time to roll up your sleeves. This comprehensive guide walks you through the steps of creating fringes on a scarf, ensuring that you master this delightful technique. Are you ready to unleash your creativity?
Choosing the Right Fabric
The selection of fabric is paramount. Opt for materials that drape well and hold their shape after being manipulated. Natural fibers such as cotton, wool, or cashmere are excellent choices, as they provide both durability and comfort. Consider the weight of the fabric; lightweight textiles like cotton blend beautifully into flowing looks, while heavier fabrics like wool offer structure and elegance. Snowfall, winter elegance, and sun twirls become your design canvas.
Essential Tools and Materials
A well-prepared workstation with the right tools enhances the crafting experience. Gather the following items:
- Fabric of your choice
- Measuring tape
- Scissors
- Fabric chalk or a fabric marker
- Ruler or straight edge
- Fringe template (optional)
- Needle and thread
- Iron
This list ensures that you are thoroughly equipped for every step ahead.
Cutting the Base Scarf
Begin by determining the desired dimensions of your scarf. A standard scarf typically measures 60 inches in length and 10-12 inches in width, but feel free to customize it. Using the measuring tape, mark the dimensions with your fabric chalk, ensuring straight lines using a ruler. Cut carefully along your marks, securing a clean edge.
Designing the Fringe
Fringe can be as elaborate or minimalistic as you wish. Decide on the length and width of the fringe, taking into consideration that longer fringes create a bohemian vibe, while shorter ones lend a more polished appearance. A good starting point is to make the fringe approximately 6-8 inches in length.
Using the ruler, measure and mark out uniform strips along one end of the scarf. Each strip should ideally be about ½ inch wide, depending on your aesthetic preference. This uniformity is crucial for achieving a professional-looking finish. Cut along these markings carefully, ensuring you do not cut deeper than half of the scarf’s width.
Fringing Techniques: Knotting vs. Braiding
Now, let’s delve into the art of fringing. Two popular methods exist: knotting and braiding. Knotting is simpler and provides a relaxed appearance. Alternatively, braiding introduces a sophisticated twist to your fringe.
For knotting, take a few strands of fringe, gather them together, and tie a double knot near the end, leaving a small gap between the scarf fabric and the knot. Repeat this process for each bundle of strands along the edge of the scarf.
For braiding, divide the fringe into three equal sections. Braid these segments together and secure the ends with a knot. This technique imparts an intricate, woven look that is visually captivating.
Finishing Touches: Securing the Fringe
To ensure the longevity of your painstaking work, securing the fringe is essential. Use a needle and thread to stitch along the base of each fringe knot or braid to reinforce it. This additional step prevents unraveling and enhances durability. An iron can also be applied gently to tame any stray threads, ensuring a polished finish.
Adding Embellishments
For those looking to personalize their scarf, consider adding embellishments. Beads, sequins, or even patches can introduce unique characteristics to your creation. Sew these decorative items at intervals along the fringe or the body of the scarf, ensuring they augment rather than overshadow the fringe itself.
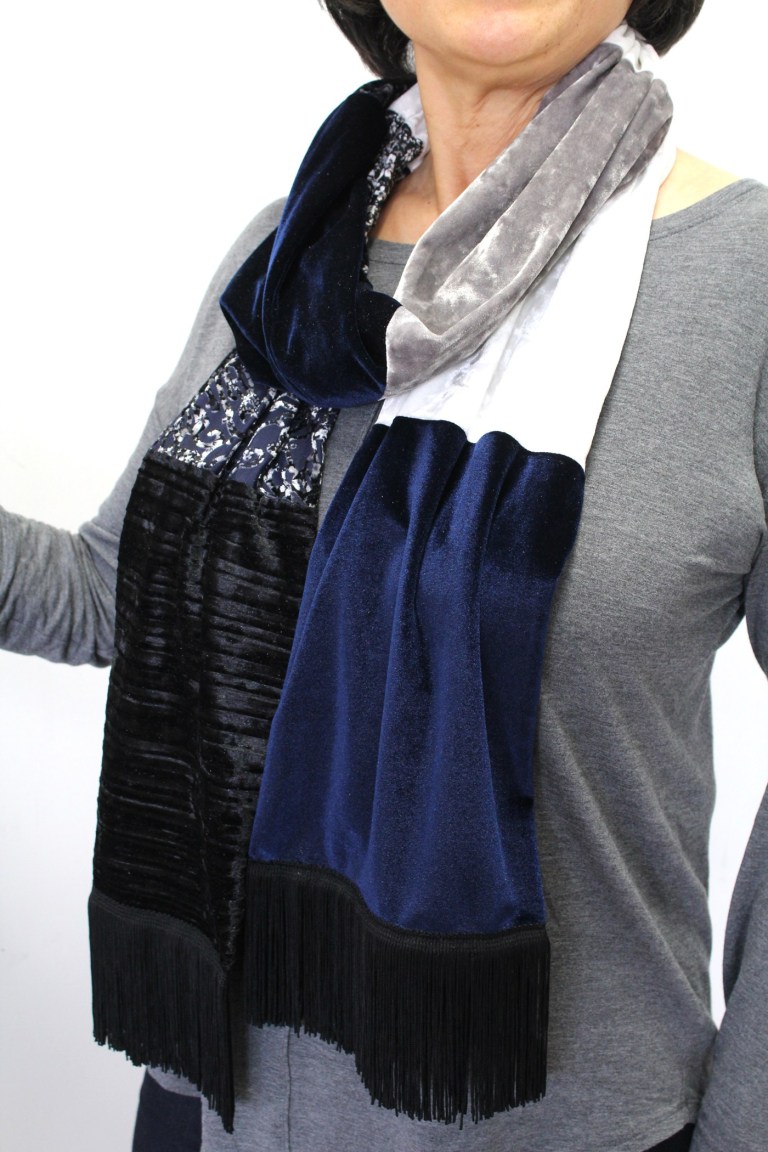
Wearing Your Fringe Scarf
Now that your scarf is complete, the real fun begins. A fringe scarf can be worn in numerous stylish ways. Drape it casually around your neck, wrap it multiple times for a cozy look, or let it hang loosely for an effortless ensemble. Mix and match with various outfits – from outerwear to casual tees – the versatility is boundless.
Caring for Your Creation
To maintain the integrity of your handmade fringe scarf, proper care is imperative. Hand washing in cold water with mild detergent is advisable. Avoid wringing out the fabric; instead, lay it flat to dry to maintain its shape and style. Store your scarf in a cool, dry place to prevent it from losing its charm over time.
Conclusion: Embrace the Challenge
Creating a fringe scarf is not just a leisurely pastime; it is an invitation to express individuality through craftsmanship. By embarking on this DIY tutorial, you have taken significant strides into the realm of textile art. The satisfaction of sporting a unique accessory, finished with your own hands, is unparalleled. So, gather your materials, challenge yourself, and indulge in the expressive world of fabric manipulation. Your perfect fringe scarf awaits!