Derma stamping, a captivating advancement in the realm of skincare, involves the use of a handheld tool studded with microscopic needles. This technique, reminiscent of traditional microneedling, stimulates collagen and elastin production in the skin, leading to enhanced texture, tone, and overall vitality. However, using a derma stamp safely and effectively requires not only understanding the procedure itself but also adhering to strict guidelines to mitigate any potential risks. Below is a comprehensive guide to utilizing a derma stamp for optimal results.
1. Understanding the Mechanism of Derma Stamping
The fundamental principle behind derma stamping is the induction of controlled micro-injuries to the skin’s surface. These intricacies provoke a natural healing response, during which fibroblasts—cells responsible for collagen synthesis—spring into action. This reaction fosters skin rejuvenation, aiding in the reduction of fine lines, scars, and overall texture irregularities. A diligent comprehension of this biological process will enhance your ability to harness the maximum benefits of your derma stamp.
2. Selecting the Right Derma Stamp
Before embarking on any skin treatment, choosing the appropriate tool is paramount. Derma stamps are available in various configurations, including different needle lengths. For treating superficial skin conditions, opt for a shorter needle length (0.25mm to 0.5mm). Conversely, for deeper scars or wrinkles, longer needles (1.0mm to 2.5mm) may be required. Additionally, the quality of the stamp is crucial. Ensure the device is made from medically-approved, high-grade materials to reduce infection risks.
3. Preparing Your Skin
A meticulous preparation regimen is essential for both safety and efficacy. Begin with a thorough cleansing of the area to eradicate impurities and oils. Follow this with an antiseptic solution to minimize bacterial presence. In addition, it is advisable to conduct a patch test on a discrete area of skin, especially if you are new to the process or have sensitive skin. This can help identify any adverse reactions before a full treatment.
4. Sanitization of Your Equipment
Hygiene is integral in any dermal procedure. Always sterilize your derma stamp prior to use, employing either isopropyl alcohol or a specialized antiseptic solution. This practice not only protects against infection but also promotes a safe environment for the treatment of your skin.
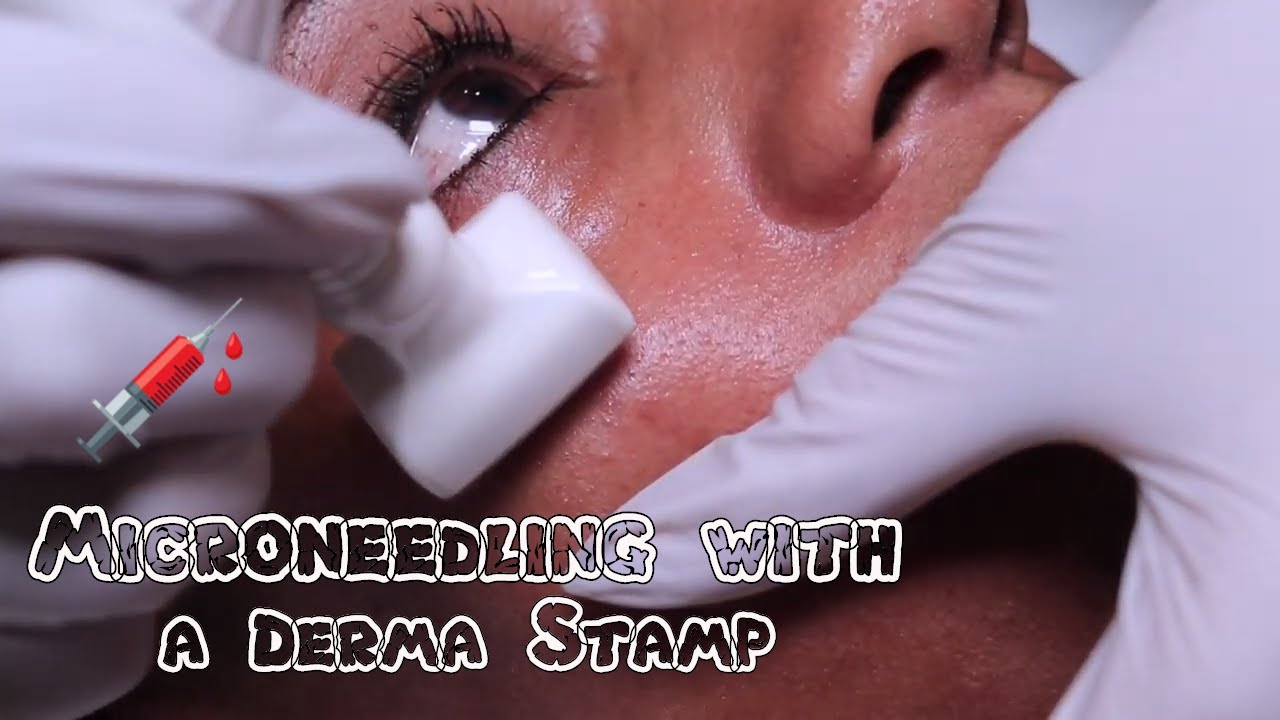
5. Application Technique
With your skin prepped and equipment sanitized, you can begin the stamping process. Gently press the derma stamp onto the skin, avoiding excessive pressure that can lead to pain or damage. Use a methodical pattern, ensuring that each area receives equal treatment. A systematic approach will prevent over-stamping while ensuring comprehensive coverage. You may feel slight discomfort, akin to a mild prickling sensation, which is normal.
The technique itself involves a vertical stab and lift action—do not drag the stamp across your skin, as this can cause further irritation. It is essential to maintain a steady and controlled rhythm, allowing each stamped area adequate time to absorb the activation without aggravating the skin.
6. Post-Treatment Care
After performing the derma stamping, your skin will inevitably be sensitive and might exhibit post-inflammatory erythema (redness). Prioritize soothing and hydrating products in your aftercare regimen. A gentle, alcohol-free toner can help restore the skin’s pH balance. Apply a hydrating serum containing hyaluronic acid, as this will provide ample moisture and assist in the healing process. Additionally, avoid exfoliants, retinoids, or any vigorous treatments for at least one week post-session.
7. Establishing a Treatment Schedule
While derma stamping can yield impressive results, frequency is vital for sustained improvements. Generally, treatments should be spaced four to six weeks apart to allow the skin ample time to heal and regenerate collagen. However, the exact interval may vary based on individual skin response and treatment intensity, so listen to your skin’s needs and consult a professional if uncertain.
8. Recognizing Potential Risks
The allure of derma stamping does not come without its pitfalls. Potential risks include hyperpigmentation, scarring, and infections if proper hygiene is not maintained. It is crucial to be vigilant and knowledgeable about your skin’s type and any existing conditions. If you have active acne, eczema, or other dermatological issues, seek professional advice before proceeding with derma stamping.
9. Seeking Professional Guidance
For those hesitant about embarking on this journey alone, or for individuals with complex skin issues, consulting with a qualified dermatologist or licensed aesthetician is advisable. Professionals can provide tailored advice, oversee treatment, and ensure the procedure aligns with your skin’s unique needs. Their expertise can also help in devising comprehensive skincare regimens that encompass more than just derma stamping.
10. Long-term Benefits of Derma Stamping
Incorporating derma stamping into your skincare routine could ultimately lead to remarkable long-term benefits. As collagen production increases, you may observe significant improvements in skin firmness, elasticity, and reduced appearance of scars over time. Ultimately, this technique serves not merely as a treatment but a transformative approach toward achieving radiant and youthful skin.
In conclusion, while derma stamping holds promise, its success hinges on education, preparation, and diligence. By adhering to the guidelines presented above, you can ensure a safer and more effective experience. The pursuit of glowing skin is a journey marked by careful choices and informed decisions.